The Cutest DIY Lanterns
- Details
- Category: 99+1 Days of Summer
- Published: Thursday, 17 June 2021 03:00
 And God said, “Let there be light,” and there was light. ~ Genesis 1:3
Light is symbolic of spiritual illumination and truth. It represents the goodness of God and all of His glory!
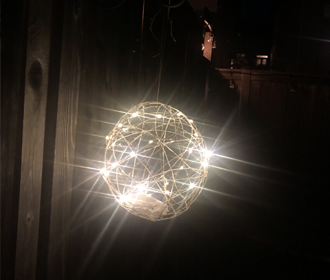
For today's article, I made some DIY lanterns to bring light and warmth to my back yard. I was inspired by Katrina at splashofsomething.com's blog post to create these lanterns, and hope you try to make them as well! Be sure to tag us @CHRIRadio on Instagram, Facebook, or Twitter if you try out this fun DIY!
Read more to learn how to make DIY Lanterns.
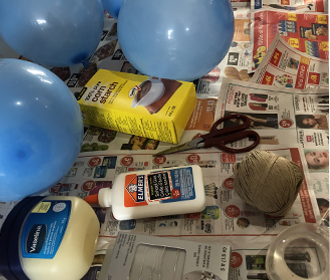
WHAT YOU NEED
- 5 to 6 balloons, blown up to whatever size ball or lantern you want to make (I made mine in all different sizes!)
- Newspapers, plastic, or a towel that the glue can drip on
- Scissors
- Twine, hemp or cotton yarn (I used hemp! Make sure it's not too thin, or it will be more difficult to wrap and won't be as sturdy when it's finished. Next time, I personally would use thicker hemp)
- 4 ounces of basic white glue
- 1/2 cup cornstarch
- 1/4 cup warm water
- Petroleum jelly
- Clear, fast-drying spray paint (optional - I didn't use it but it still turned out great)
- Lights you can wrap around and through your lanterns
DIRECTIONS
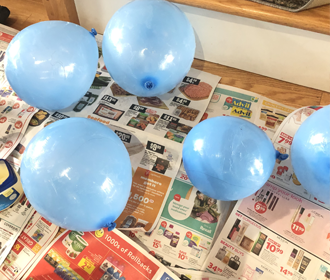
Step 1: Blow up your balloons and get all of your supplies ready.
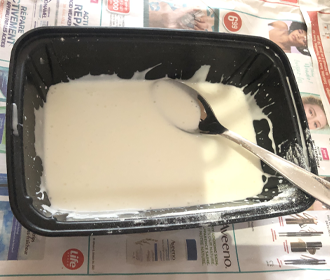
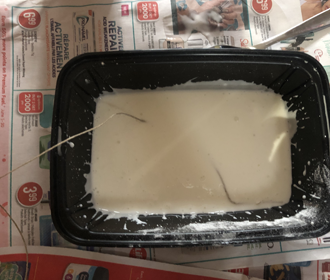
Step 2: Mix the cornstarch, water, and glue in a container until it is fully mixed and no longer clumpy.
Step 3: Coat all of your balloons with Vaseline. This will prevent the string from actually adhering to the balloon.
Step 4: Fully coat your string with the glue mixture, and then begin wrapping it around the balloon. This is a very messy process so make sure you are wearing appropriate clothes and are using an appropriate surface!
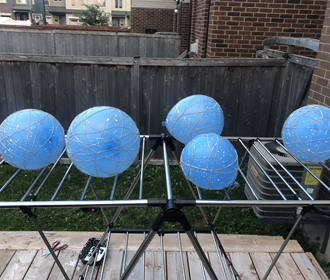
Step 5: When you're satisfied with how you've wrapped your balloons, set them up to dry for 24 hours. I put them on a clothing rack (I had to wash glue off of it after...), but you could also hang them up along a shower bar by tying it up with a piece of twine, or anywhere else they can dry without ruining anything!
Step 6: After they have dried for 24 hours, it's time to pop the balloons and see your project start coming to life!
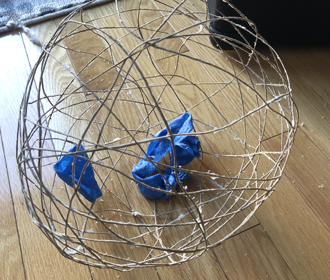
Step 7: Add your lights, by weaving them throughout the lantern, and hang your lanterns up wherever you see fit. I hung mine off of planter hooks in my backyard, and they have made a really nice, warm touch! I used fairy lights that have a little battery pack which I placed inside the lantern, but if you don't want a battery pack to show, then I would place them closer to an outlet and use a longer string of lights. The options are truly endless on how you use your lanterns!

And there you have it. It was so cool seeing these super cute and simple DIY lanterns come to life as I completed this project!


